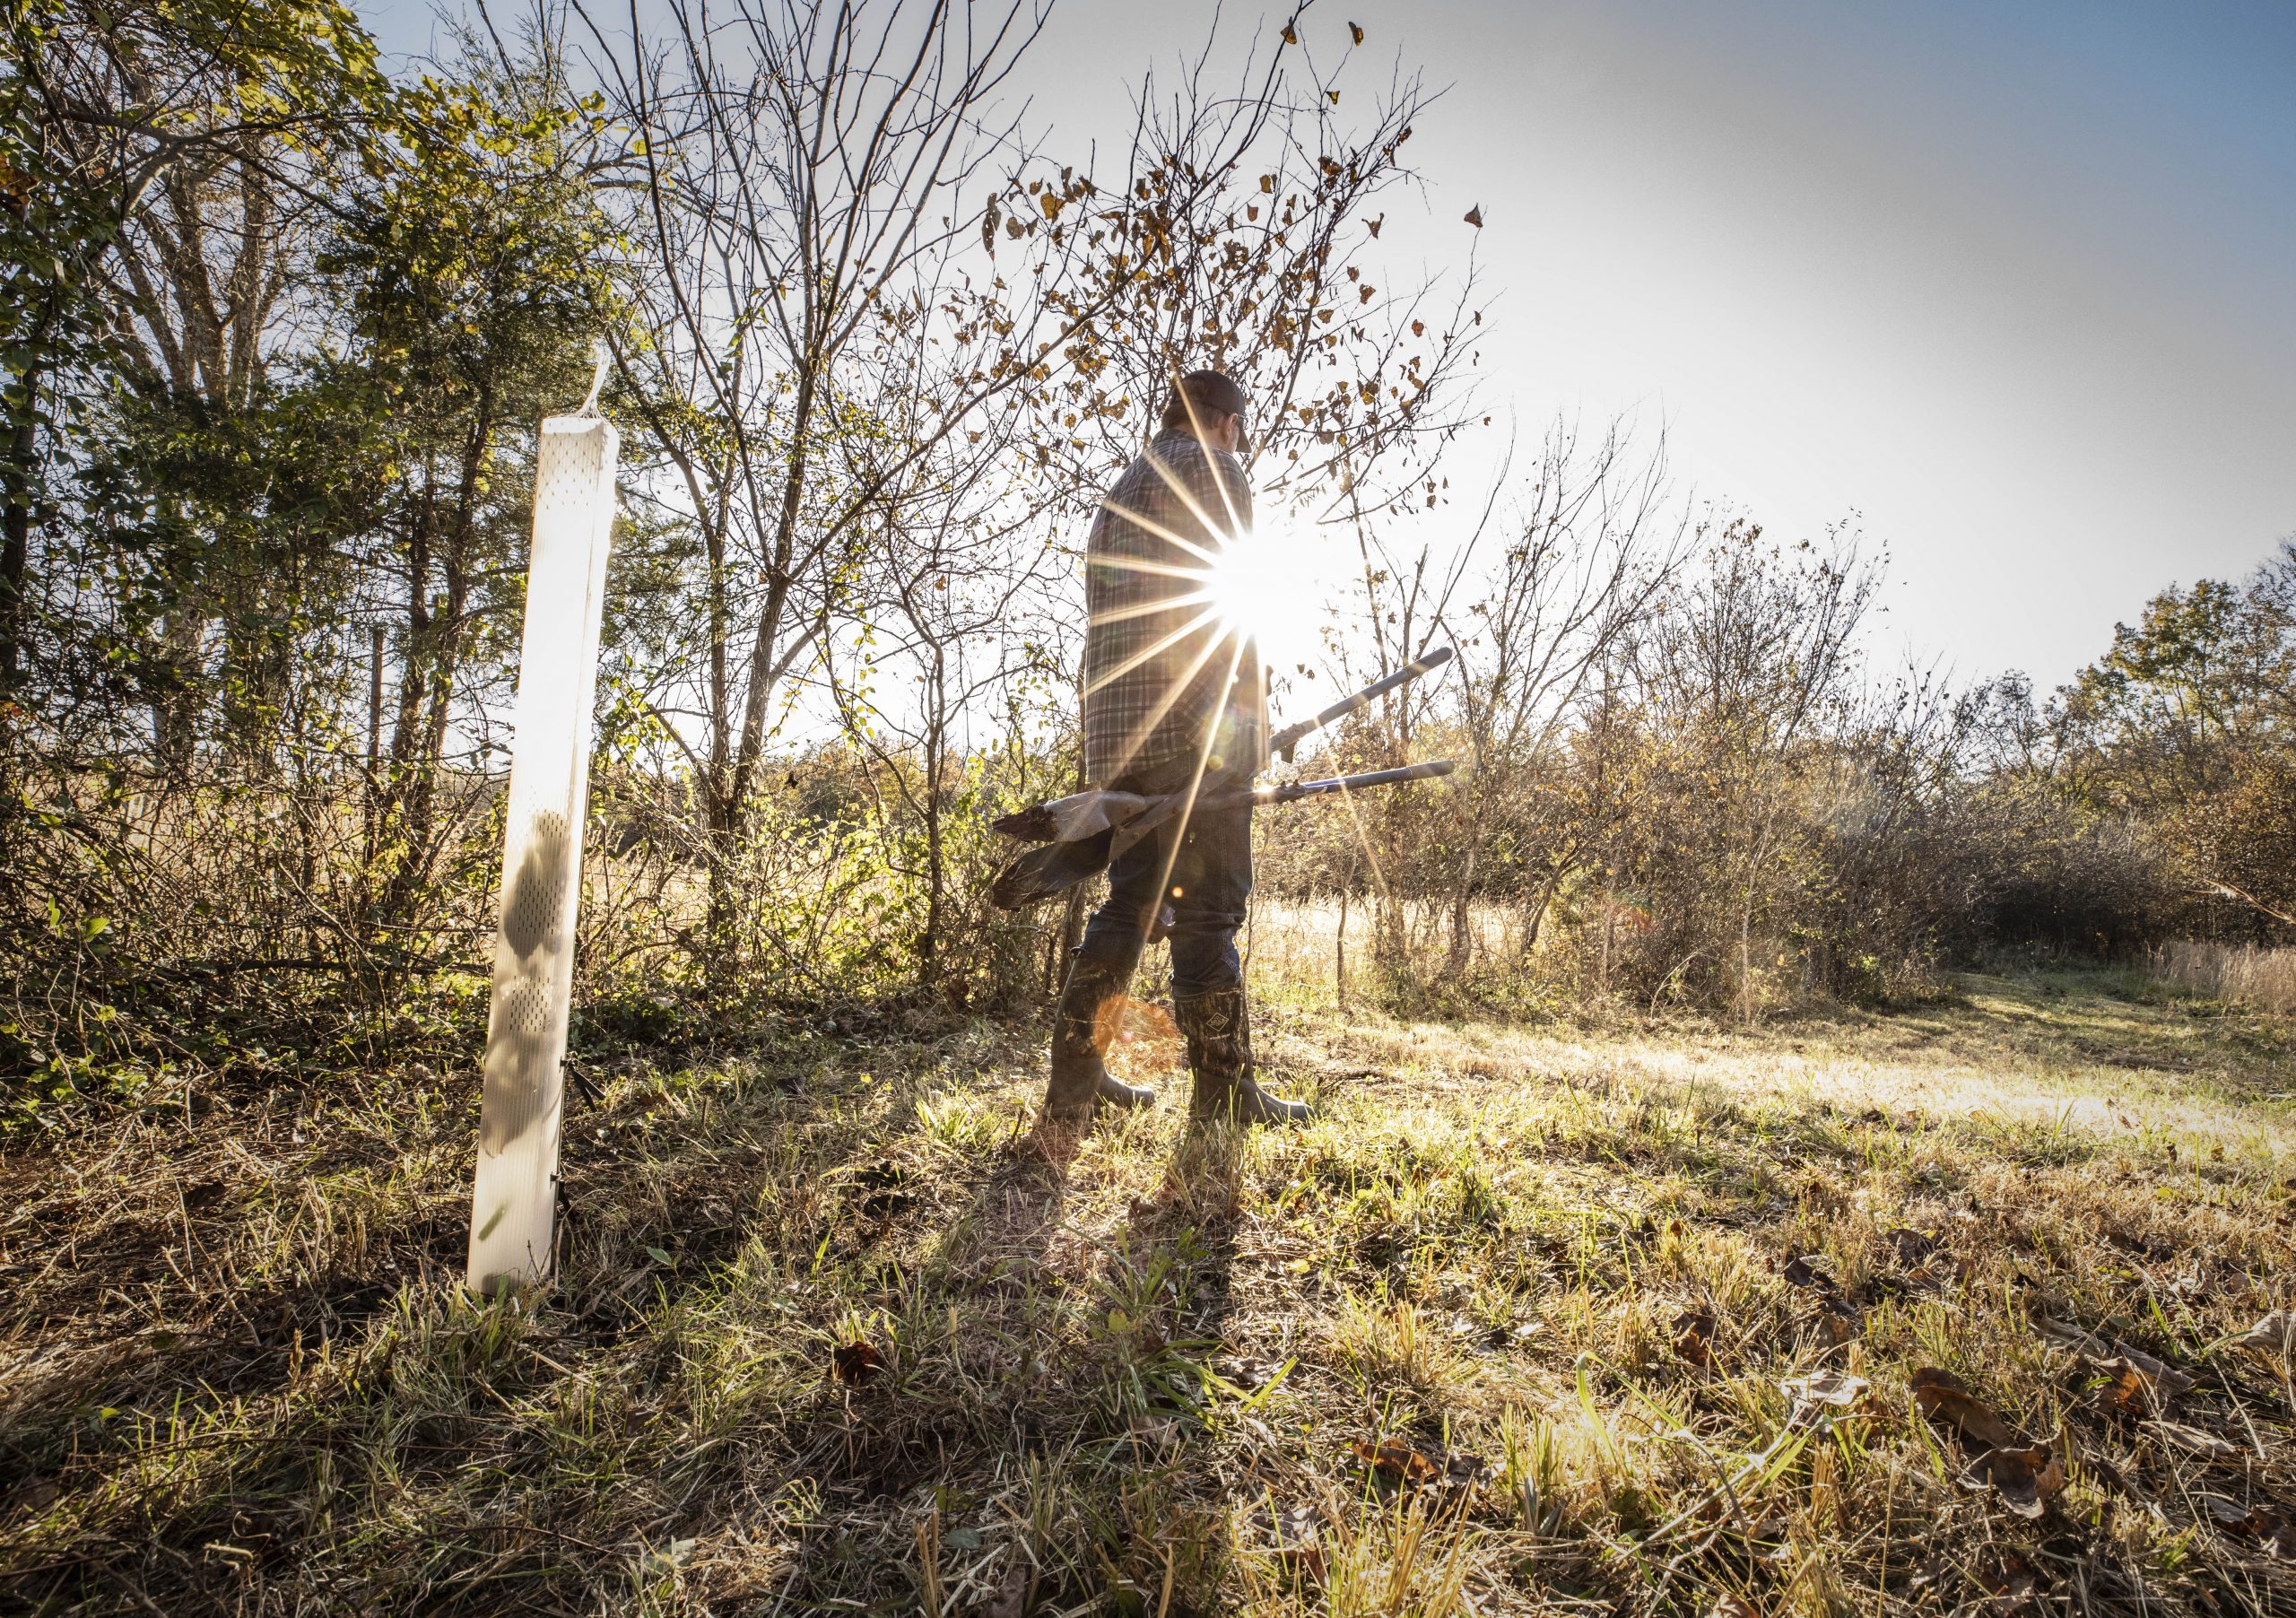
Ground Preparation for Planting
When getting ready to establish mast orchards, remember the six “P’s” – Proper Planning Prevents Poor Plant Performance. Evaluate existing conditions, set specific goals then plan and plant accordingly. A little extra attention and dirt wisdom up front can make a big difference in mast production.
First, you must consider the best location for each species you plan to plant if you want maximum mast production. Eliminate shady areas, rocky or sandy ground with poor soil moisture, or low-lying areas where frost pockets form. Instead, seek higher areas where cold air drains off, open spaces with less competition, and south-facing slopes that receive more direct sunlight. Also, consider that variation in elevation, site location, directional orientation, and proximity to bodies of water can create local variations in temperature or micro-climates.
Once you’ve chosen a location, look at the current conditions at the specific site or sites. If an area is currently vegetated, which is usually the case, determine whether it requires timber harvest, brush-hogging, or herbicide treatment. The goal is to remove other plants competing for soil nutrients, water, and sunlight. With herbaceous food plots, it’s best to start with bare ground. With mast orchards, you can get away with clearing only the planting areas and any bordering trees that may block sunlight.
Next, you can get more specific. Other plants aren’t the only potential perils. Rodents may chew the bark and even girdle and kill trees. Larger mammals like deer and bears may rub bark and break or eat branches. Grow tubs and fencing help, but it’s still a good idea to clear an area of bare ground approximately 6 feet in diameter around planting locations.

Now it’s time to plant. You can find detailed planting procedures in the Chestnut Hill Outdoors’ Learning Center, but the following are some basic guidelines:
-Dig a hole two times wider than the pot for the roots to grow outward without crowding, but not deeper than the root ball.
-Plant the tree at the same depth it grew in the nursery (at the crown where the bark changed from green to brown).
-Partially fill the planting hole with native soil. Do not add soil amendments such as compost, peat, or bark, as this can cause root fungus.
-Set the tree in the middle of the hole with plenty of room for the roots.
-Add soil to secure the tree in a straight position, then fill with native soil, firming it around the lower roots to remove air pockets. Continue back-filling until the soil is level with the root collar.
-Create a water-holding basin around the hole and water the trees slowly at the drip line.
-After the water has soaked in, spread a protective layer of mulch 2- 4” deep around the trunk, pulling the mulch a few inches away from the trunk.
CEO Iain Wallace and Co-Founder Bob Wallace go through planting step-by-step in this video:
Plants need water, especially in the first two years of establishment, so your plan should include an irrigation plan. What you select will depend on location, accessibility, and access. You may be able to construct a system of hoses and sprinklers connected to a pump. You might have to transport water manually, or you may be able to construct a tiling system if there’s a nearby, uphill water source. Water and fertilize according to instructions in the Learning Center, and if you have any questions, XYZ. We’re always happy to talk about trees, wildlife, and habitat.


